Start with the article structure, not a prompt
The fastest way to add AI images to a blog post is to decide where the reader needs visual help before you start generating. Mark the hero image, the first example, the process diagram, and any comparison section. That gives the image workflow a job instead of asking it to decorate the article.
Use one style brief for the whole post
Most publishing teams lose time by prompting each image from scratch. Write one short style brief for the post: format, lighting, color, realism level, brand constraints, and what to avoid. Then reuse that brief across every image placement.
Match image type to search intent
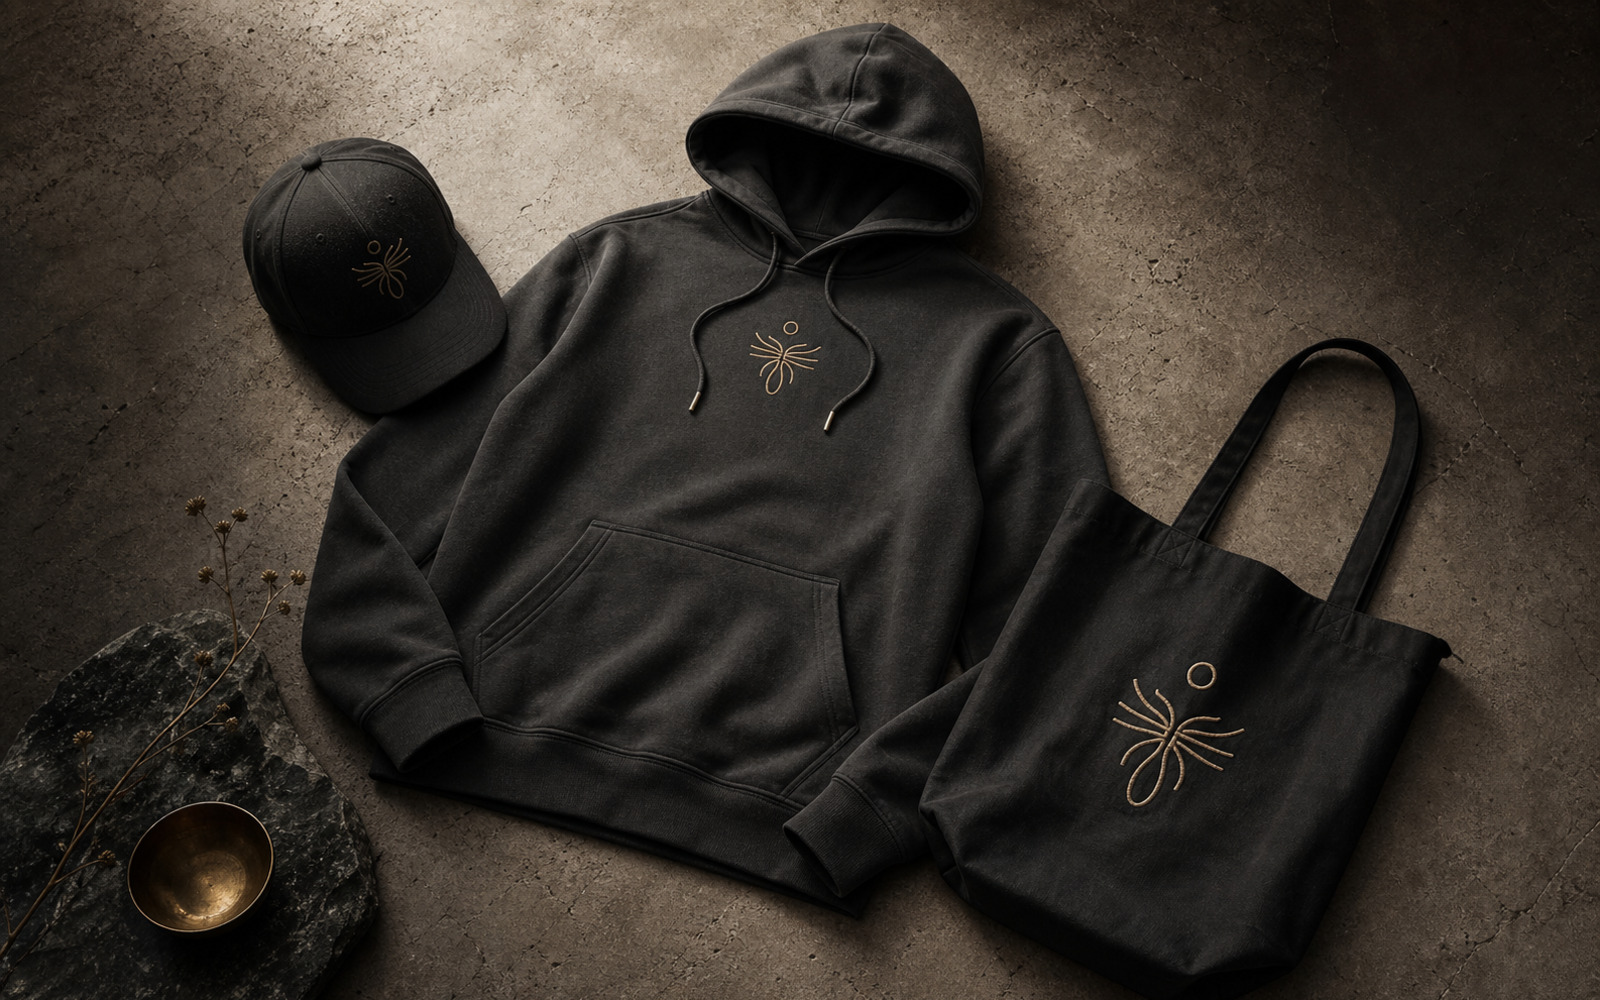
A how-to article usually needs process visuals, annotated examples, and before-and-after proof. A comparison article needs side-by-side panels. A launch post needs product context, not abstract shapes. The image should answer the same question that brought the reader to the page.
Run the image insertion as a repeatable workflow
Magic Genie is useful here because the job is bigger than generating one image. The workflow can read the article, identify useful placements, create image concepts, and return assets that fit the post.
Useful Magic Genie tools
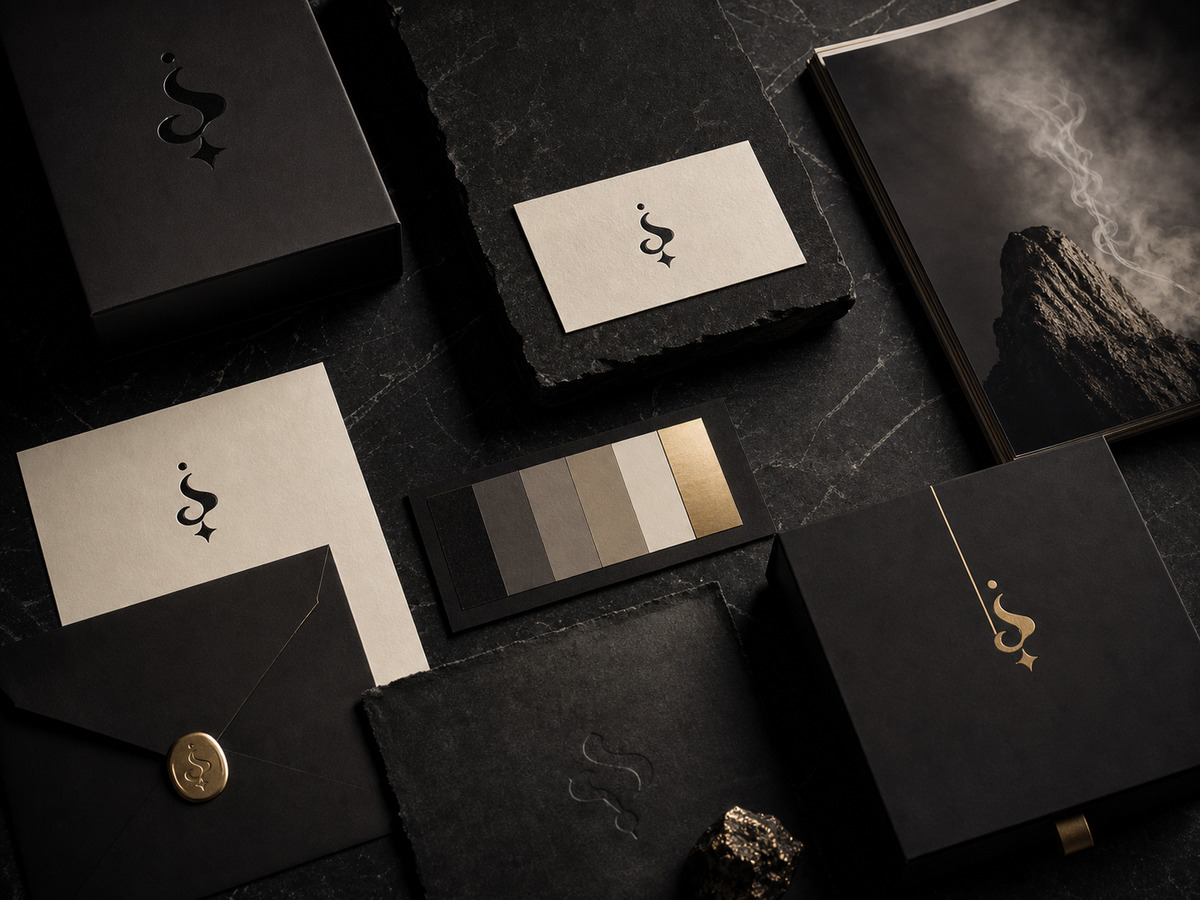
Start with the blog image workflow, then create supporting launch and postcard assets when the article is part of a campaign.